Microscope Activities for Middle School
These ideas for fun microscope activities for middle school students will help you plan engaging science lessons. They will work for home schoolers and middle school students in traditional classrooms.

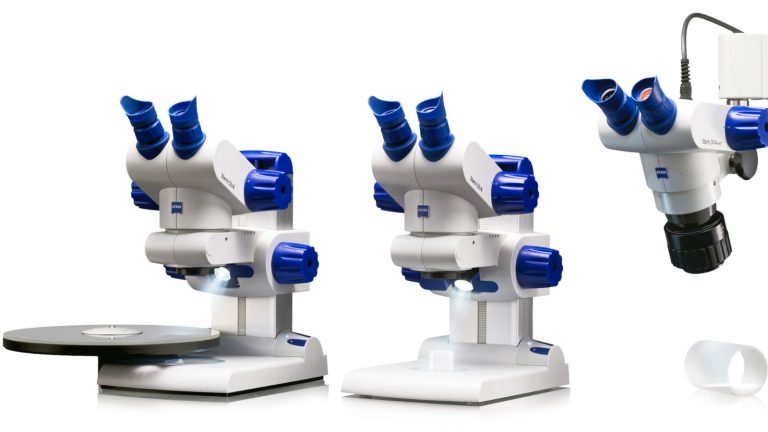
Some of these microscope experiments require standard compound microscopes but others can be accomplished or modified to work with inexpensive hand-held microscopes if your classroom doesn’t have access to a school biology lab.
To prepare your middle school students for these microscope lessons, take a little time to discuss how microscopes work and the parts of a compound microscope.
You may even want to talk about how microscopes are used in various fields, such as geology, biology, criminal investigation, and even how collectors use them.
If you’re a science teacher, you know this subject backwards and forwards, but maybe this list of activities can save you some planning time.
For the students, some science background knowledge will be helpful for the cell studies and microorganisms activities.
Once the students know the basics of how to use a microscope, they’ll be ready for the microscopy activities described below.
Let’s Look at the Microscope Activities for Middle School Students
Activity 1 – Understanding the microscope
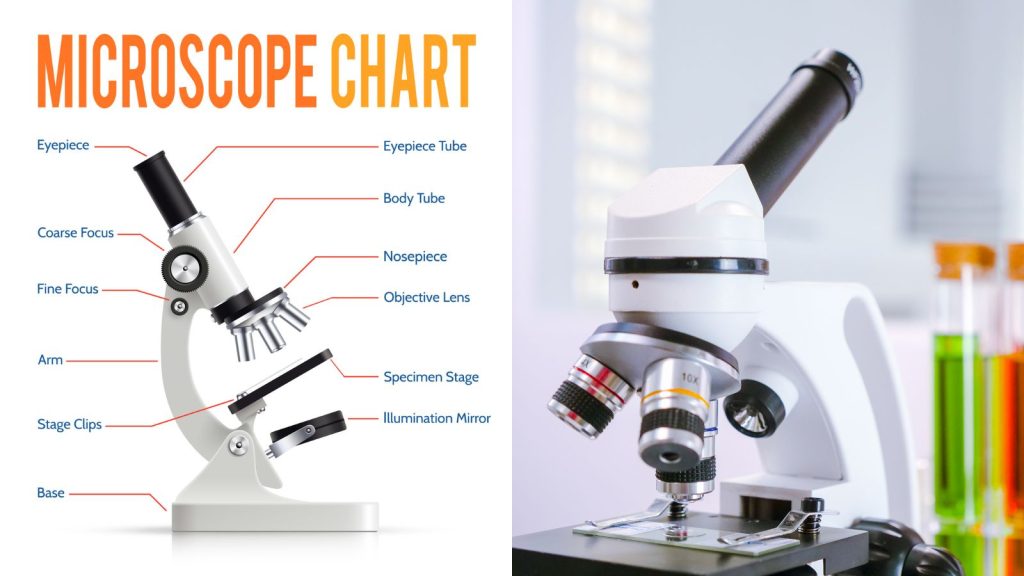
This activity introduces the microscope to your students. Once you’ve explained the parts of a microscope and their purpose, students can sketch a microscope diagram. You might also want to use our microscope diagram worksheet and have students add labels to identify the various parts of a microscope.
If you’re using non-traditional microscopes, like hand-held types, be sure to discuss how they are made to provide the same functions, and how they are different.
Supplies needed:
- pens
- pencils
- paper
Activity 2 – (optional) – Prepare microscope slides

In this activity, students will gather samples and prepare slides for later examination in lesson 3. This could be a two part activity with the first part as a homework assignment (gathering sample materials.) The second part would be preparing slides for Activity 3, the examination of specimens.
This activity is optional because you might already have prepared slides on hand.
Provide sample substances and have students take specimens from them, or have students bring samples from home. For dry specimens, provide tweezers for extracting from the sample batch. For wet specimens, provide toothpicks or droppers or pipettes, as appropriate.
In addition to the sample ideas listed below in Activity 3, samples could come from food in a fridge (the homework)
- fruit jellies that are growing mold
- sour cream
- moldy cheese
- fresh yogurt
- kombucha
Supplies: dry and/or wet samples, slides and coverslips, tweezers and/or pipettes as appropriate.
Order safer, ground-edge microscope slides from Amazon, and other supplies, like pipettes.
Activity 3 – Exploring the world around us
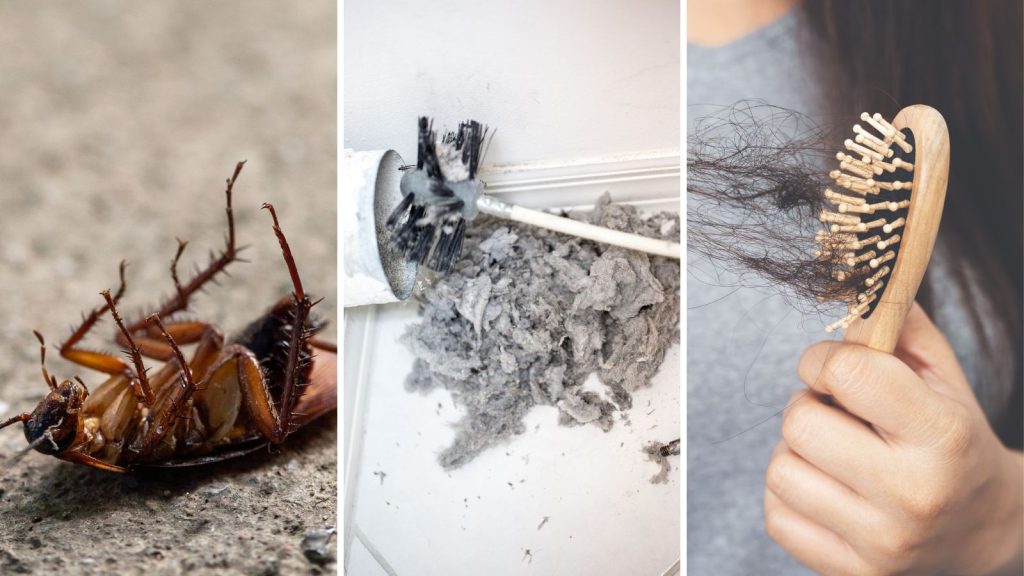
This microscope science experiment is really easy to setup. You can provide samples for students to study or use samples gathered in the previous activity.
Samples like the ones in this photo don’t have to be very large. A small amount goes a long way when you’re placing the specimens on slides. Tweezers and scissors make it easy to get just a small amount.
Sample ideas:
- hair from a hairbrush
- pet hair
- dead insects
- dryer lint
- dirt from a vacuum cleaner
- sugar, salt, spices
- plants, vegetables
- seeds
The type of microscopes you have will dictate whether you need slides and coverslips or whether they can be viewed on a counter or table with a hand-held microscope.
Optional: have the students sketch and color what they see under the microscope. Have them make notes describing in detail their observations, noting colors, size comparisons, impressions.
Bonus: have a competition to see who can win the Award for the Best Sample.
Supplies: microscope, specimens, slides, tweezers, scissors
Activity 4 – Study microorganisms
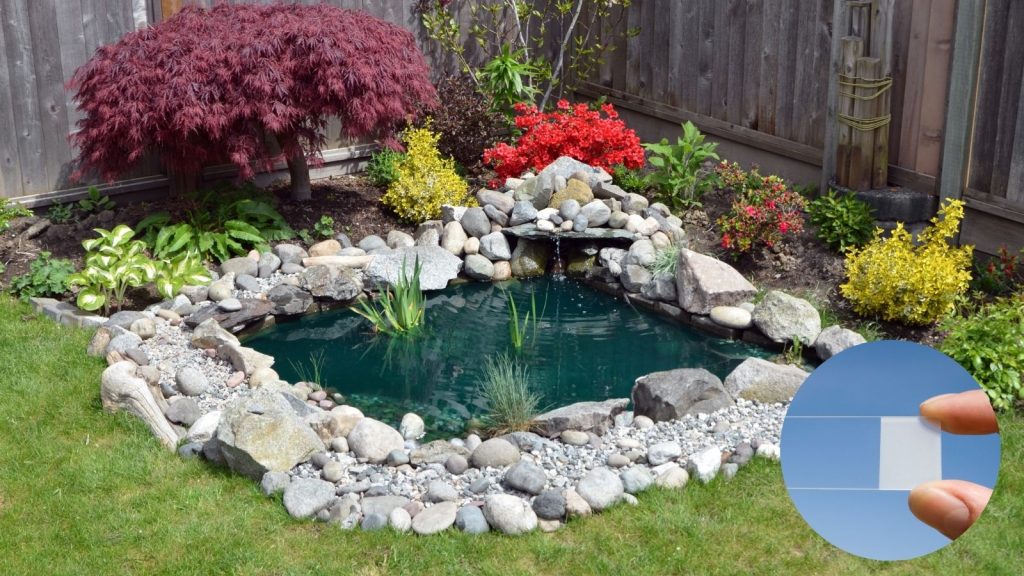
Note: pond water is probably more interesting and easier to see than yogurt. You can see pictures and a video on the pictures page.
The students can prepare slides from one or both of these samples. Add a droplet from the chosen solution to a slide and apply a coverslip. Observe the specimen to see the vibrant life within.
Supplies: microscopes, sample of pond water, slides and coverslips, pipettes or droppers, paper towels or lab wipes
Activity 5 – Crime Scene Investigation
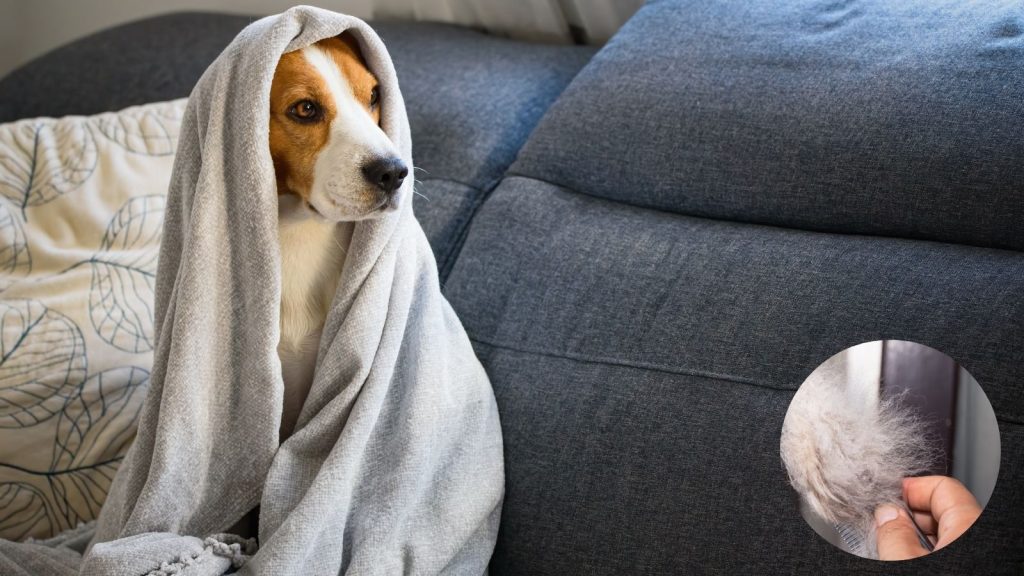
Of all microscope activities for middle school, this is my favorite!
Inspire your junior detectives to solve a faux crime using hair and fiber samples. Describe the crime as a case of the stolen pet.
A pet, called Remi, was stolen from his home. The pet’s owner provided a photo, the pet’s grooming brush still containing pet hair, and a sample from the carpet where the theft occurred. The crime scene technicians provided the debris they collected from the suspect’s car by vacuuming the car.
To set this up: Collect the samples given below from the home of a pet owner, including the debris from a vacuum cleaner.
The students will examine the samples from the crime scene, and then examine the debris collected from the imaginary suspect’s car.
The crime: a stolen pet
Group 1 – samples from the crime scene, the pet’s home
- Fibers from a carpet.
- Hairs from the pet’s brush and/or bed.
Group 2 – samples from the suspect’s car
- Debris collected from a vacuum cleaner that was used to collect evidence from the suspect’s car.
Arrange the samples in bags labeled according to their source and have the students extract specimens with tweezers and place them on a slide with coverslip. (You could walk to each workstation and offer the samples, rather than have everyone walk around carrying sharp glass.)
Supplies: microscopes, fiber samples from a scene including pet hair, tweezers for mounting specimens, slides and coverslips, debris from a vacuum cleaner as evidence from the suspect
A carpet sample
The pet’s hair brush</span
Vacuumed debris from suspect’s car
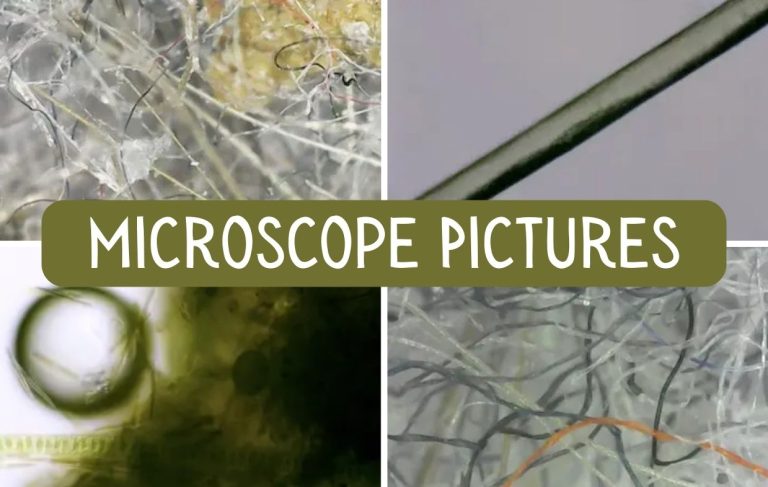
Activity 6 – Microscope pictures
Student assignment: Create microscope pictures from their favorite activity. The students should sketch and color a diagram of the specimen they found most interesting.
This is a good way to evaluate students’ comprehension of the subject. It is also an opportunity to learn more about the personalities around you. If you can, showcase the work for school open houses to demonstrate the hands-on experiences from the class.
Alternative Microscope Activities for Middle School – A Virtual Microscopy Experience
If your school or home school doesn’t have a microscope lab, use online resources, such as our microscope pictures page, our Pond Water video, and the photos on this page, to provide detailed images for discussions of microscopy subjects.
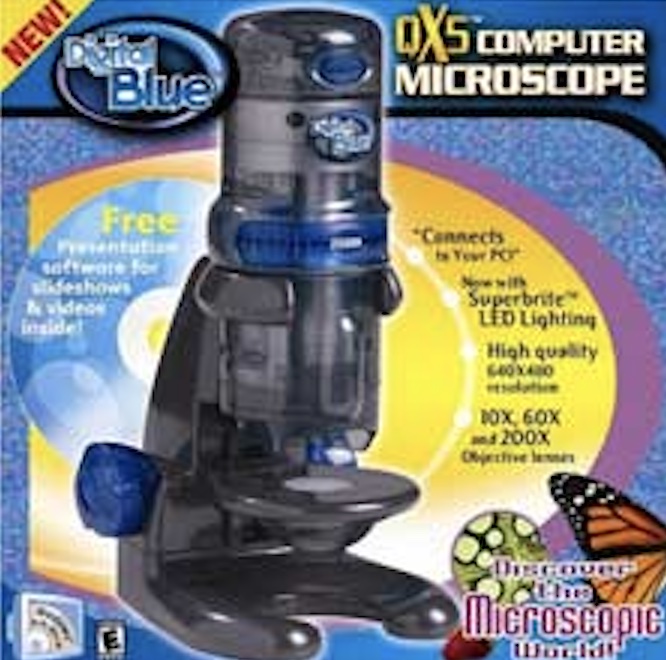
You might consider purchasing one or two pocket microscopes or handheld USB microscopes for sharing with the class. Setup workstations for small groups for looking over microscopy-related objects.
- Prepared slides and microscope photos of them
- Supplies for preparing slides: slides, tweezers, pipettes, coverslips
- A collection of substances that are shown in our microscope pictures page
- A chromebook or similar device showing the pond water video
NOT JUST FOR SCIENCE CLASS
Microscope activities for middle school students can be fun in other classes, too, like Art or English class.
Microscope images can inspire beautiful art projects. Students can choose a slide they viewed or one from our picture page and use it as a starting point for an artwork project.
For English class, use language to describe activities and what is observed in the microscope. Encourage the kids to elaborate and add colorful descriptive words in their writing. The Crime Scene Project, mentioned above, is a good example where writing could be the assignment.
If you need new microscope slides or supplies, Amazon can deliver them quickly.

2 Comments
Comments are closed.